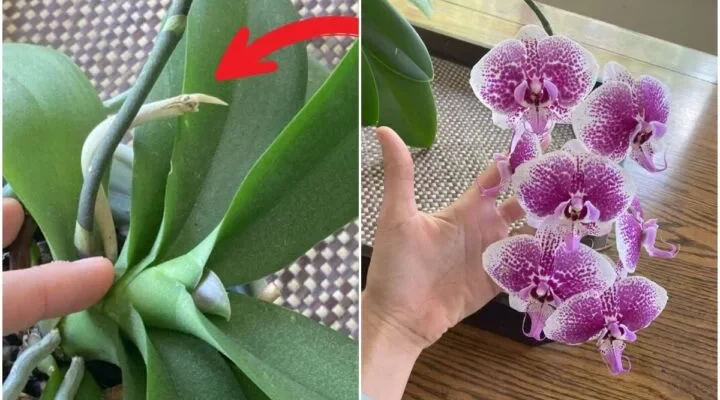
Breakthroughs in breeding practices have turned the once-elusive orchid into one of the most popular gifted plants. The abundant blooms are surprisingly durable and will last for months. But once they finally wilt, you’re left with an admittedly ugly stem.
At this point, many people toss their orchids and replace them with new, flowering plants.
But there’s no reason to treat orchids like cut flowers. With some care and attention, you can coax your orchid to rebloom and enjoy the plant for years to come.
About Orchids
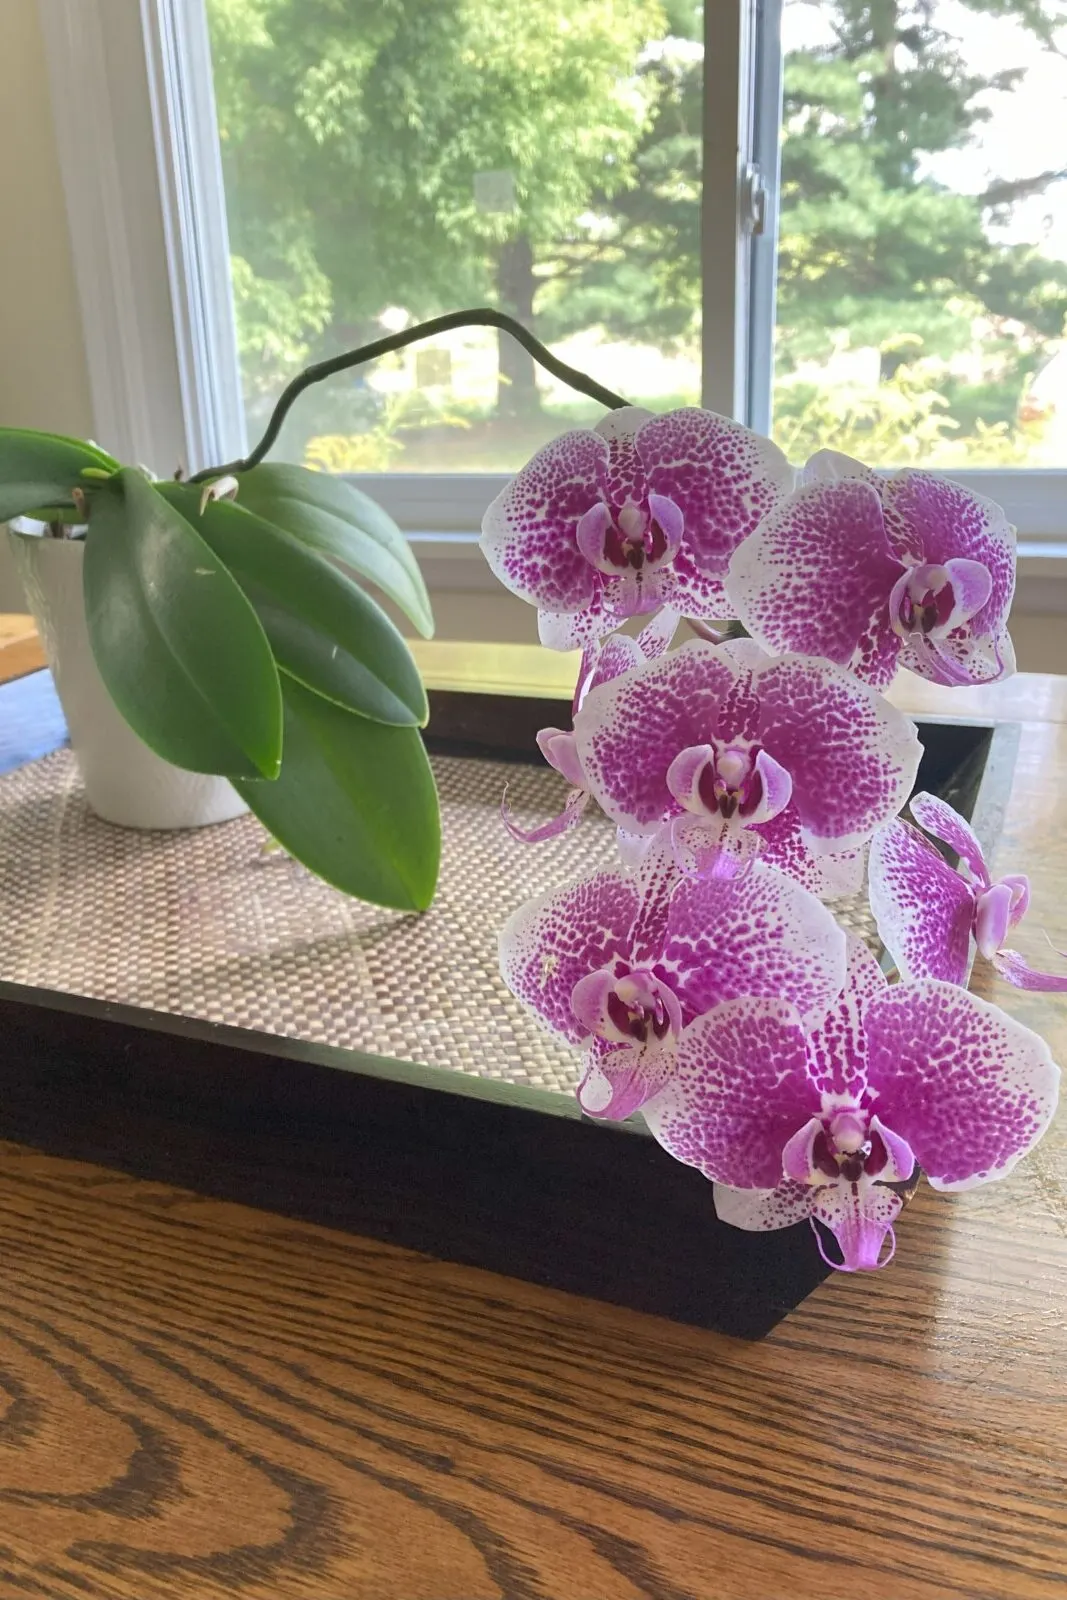
While there are around 28,000 species of orchid in nature, the majority sold as houseplants are phalaenopsis orchids. They’ve earned the nickname ‘moth orchids’ due to their broad, flat leaves that grow on opposite sides of the stem.
Moth orchids have become wildly popular due to advances in orchid breeding that make it possible to clone them on an industrial scale. While the flowers can last for months, the plants typically bloom only once a year and often need some convincing to do so indoors.
The good news is that the phalaenopsis family are some of the easiest orchids to rebloom, so long as you follow a few key steps.
Note: These reblooming tips might not be as relevant if you have a different variety.

When To Initiate Orchid Reblooming
Phalaenopsis hail from southeast Asia and Australia, where the stunner grows as an epiphyte on trees and blooms once yearly in the late spring. Grown indoors, you must replicate these seasonal changes to encourage it to rebloom.
It’s best to start as soon as the present flowers are fading. With care and a little luck, you’ll have flowers again in three to six months. But first, the plant must enter dormancy.
Dormancy is an essential time in an orchid’s life cycle.
It’s a period of rest where the plant replenishes its nutrient supply to build up the energy for more blooms. The length varies based on conditions but averages around six to nine months.
Note: Remove wilting blooms as soon as they develop. They produce ethylene gas, which causes the flowers around them to wilt faster. Likewise, orchids in the kitchen will lose their blooms more quickly due to their exposure to the ethylene gas put off by ripening fruit.
Orchid Spike Care
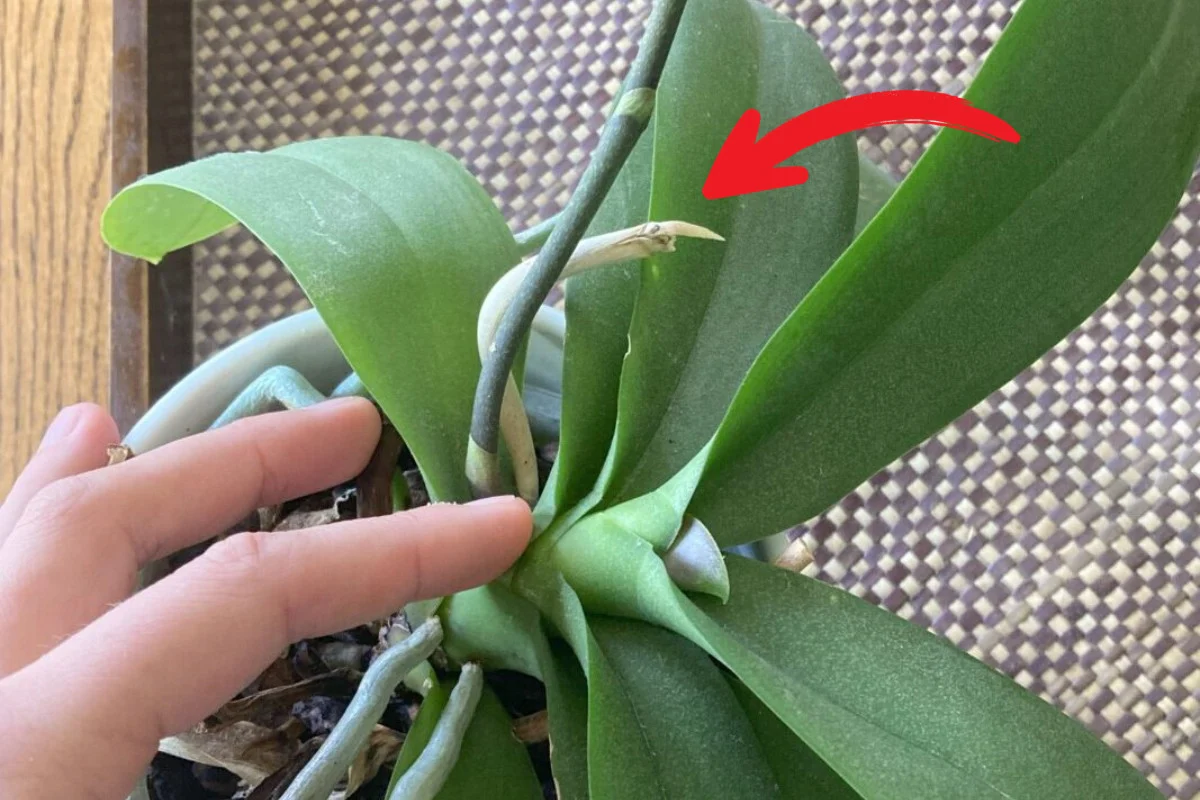
Once the flowers are gone, the orchid’s flower spike will remain. This is the spot where new buds will form after dormancy. This spike will look like an upward-growing root with a bump at the tip.
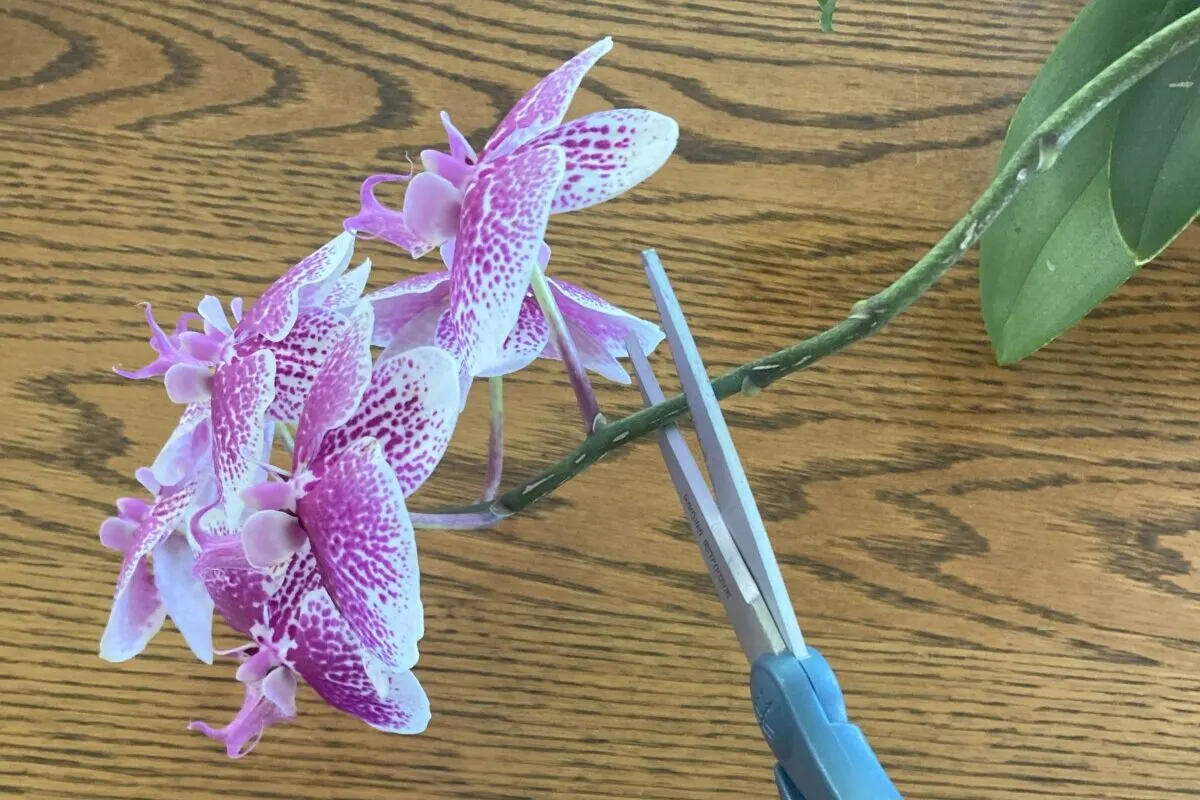
If the spike looks green, aim to cut it about one inch above the first node below the lowest flower bloom. Be careful not to trim too low! This helps stimulate growth for future flower production.
But if it is turning brown, you’ll want to cut it at the base of the plant. Most orchids won’t produce new growth on brown spikes.
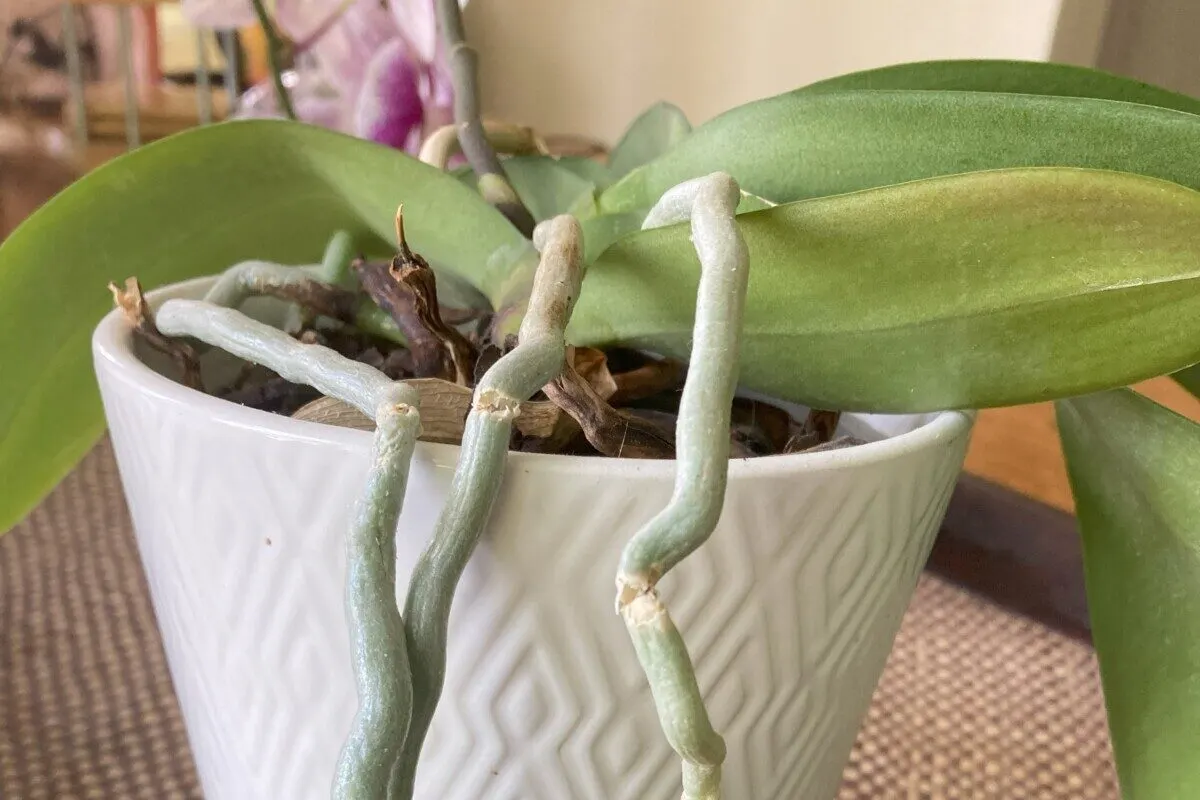
If your plant has a double spike, you can cut one spike one inch above the first node and the second at the base of the plant. While it will take longer for the plant to form its next bloom, the new flower spike will be stronger for it.
Choose a Cooler Space
Orchids form their blooms during the winter, so you want to replicate that in your home. But since their natural habitat is the tropics, the change in temperature should be mild. Ideally, the plants should be exposed to nighttime temperatures around 55-65 ºF until a new flower spike forms.
This might mean merely moving the plant closer to a windowpane so it takes in some of the chill from the glass. If your climate allows it, consider leaving the pot outdoors for a few nights.
Once you see a spike forming, you can move the pot to a warmer corner of the house, preferably with higher humidity. (65-85ºF works well). Make sure it gets plenty of bright, indirect light.
Refrain from Overwatering
Since orchids are tropical, many assume they need lots of water. But in reality, these plants are epiphytes that thrive on trees and other inhospitable surfaces. Many get all the moisture they need directly from the air.
While it’s important to keep orchids hydrated during dormancy, overwatering can actually cause bigger problems.
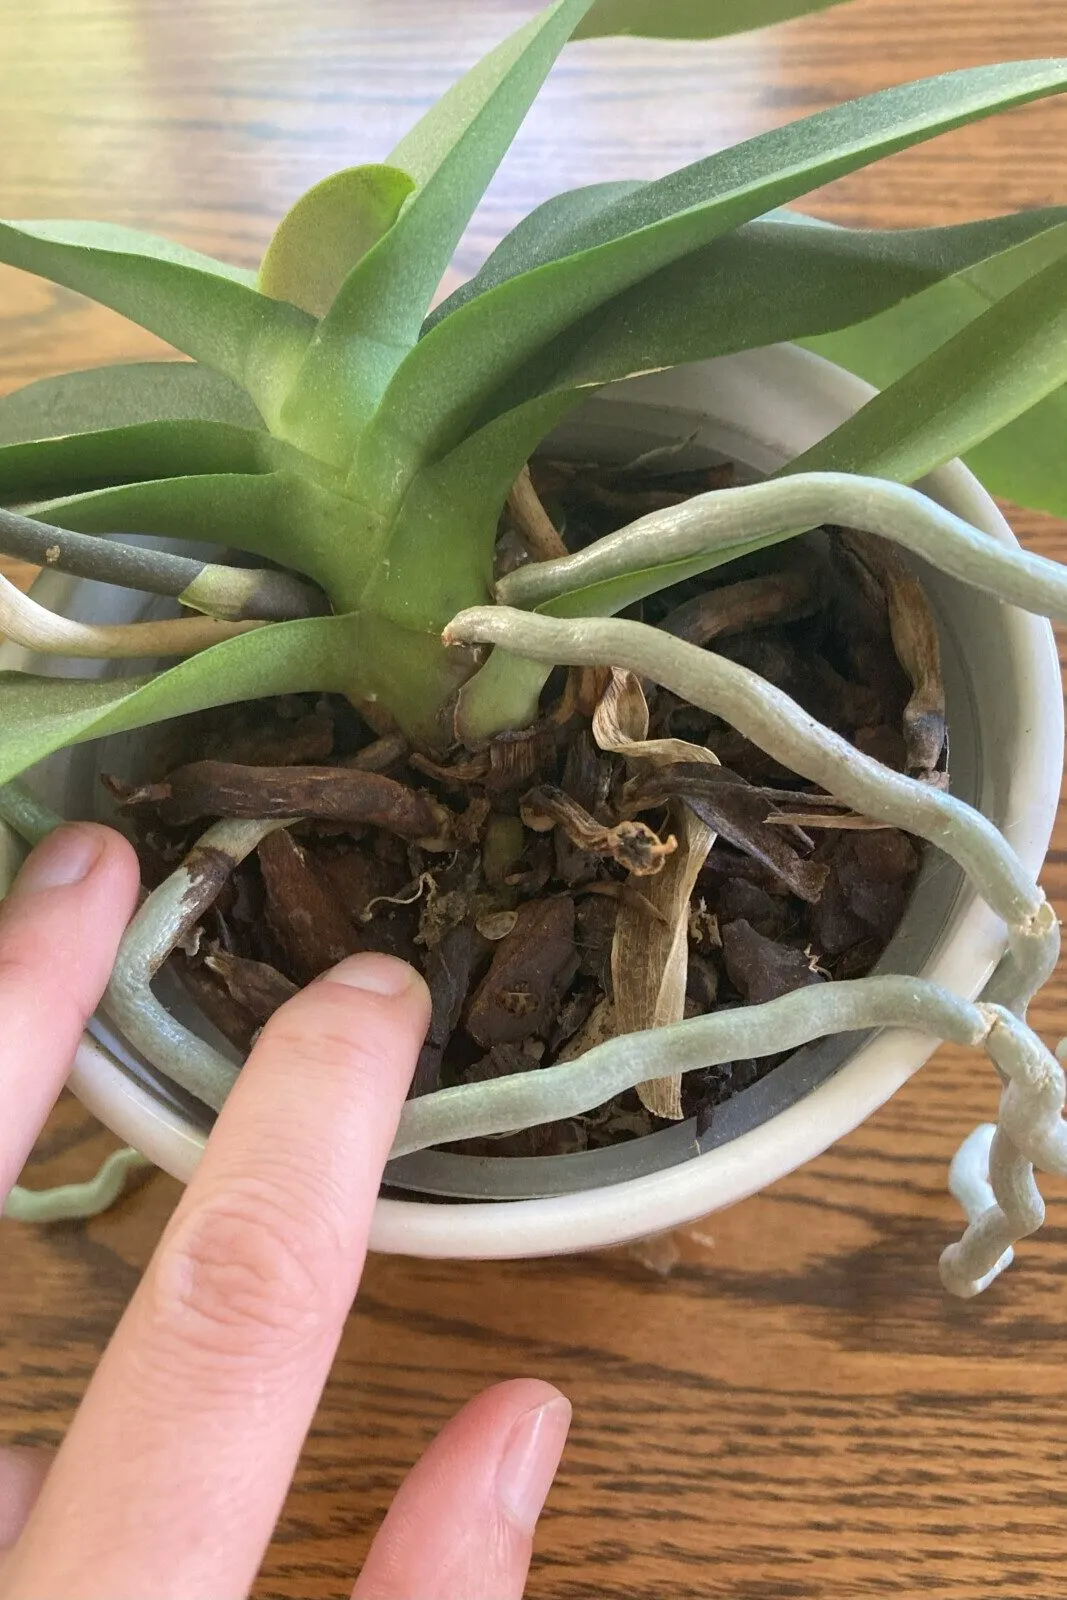
Make sure you only water when the top of the soil feels dry and empty drip trays to prevent the roots from sitting in water.
You can also check the roots to see if hydration is needed. Green roots have plenty of water, but grey ones are dehydrated.
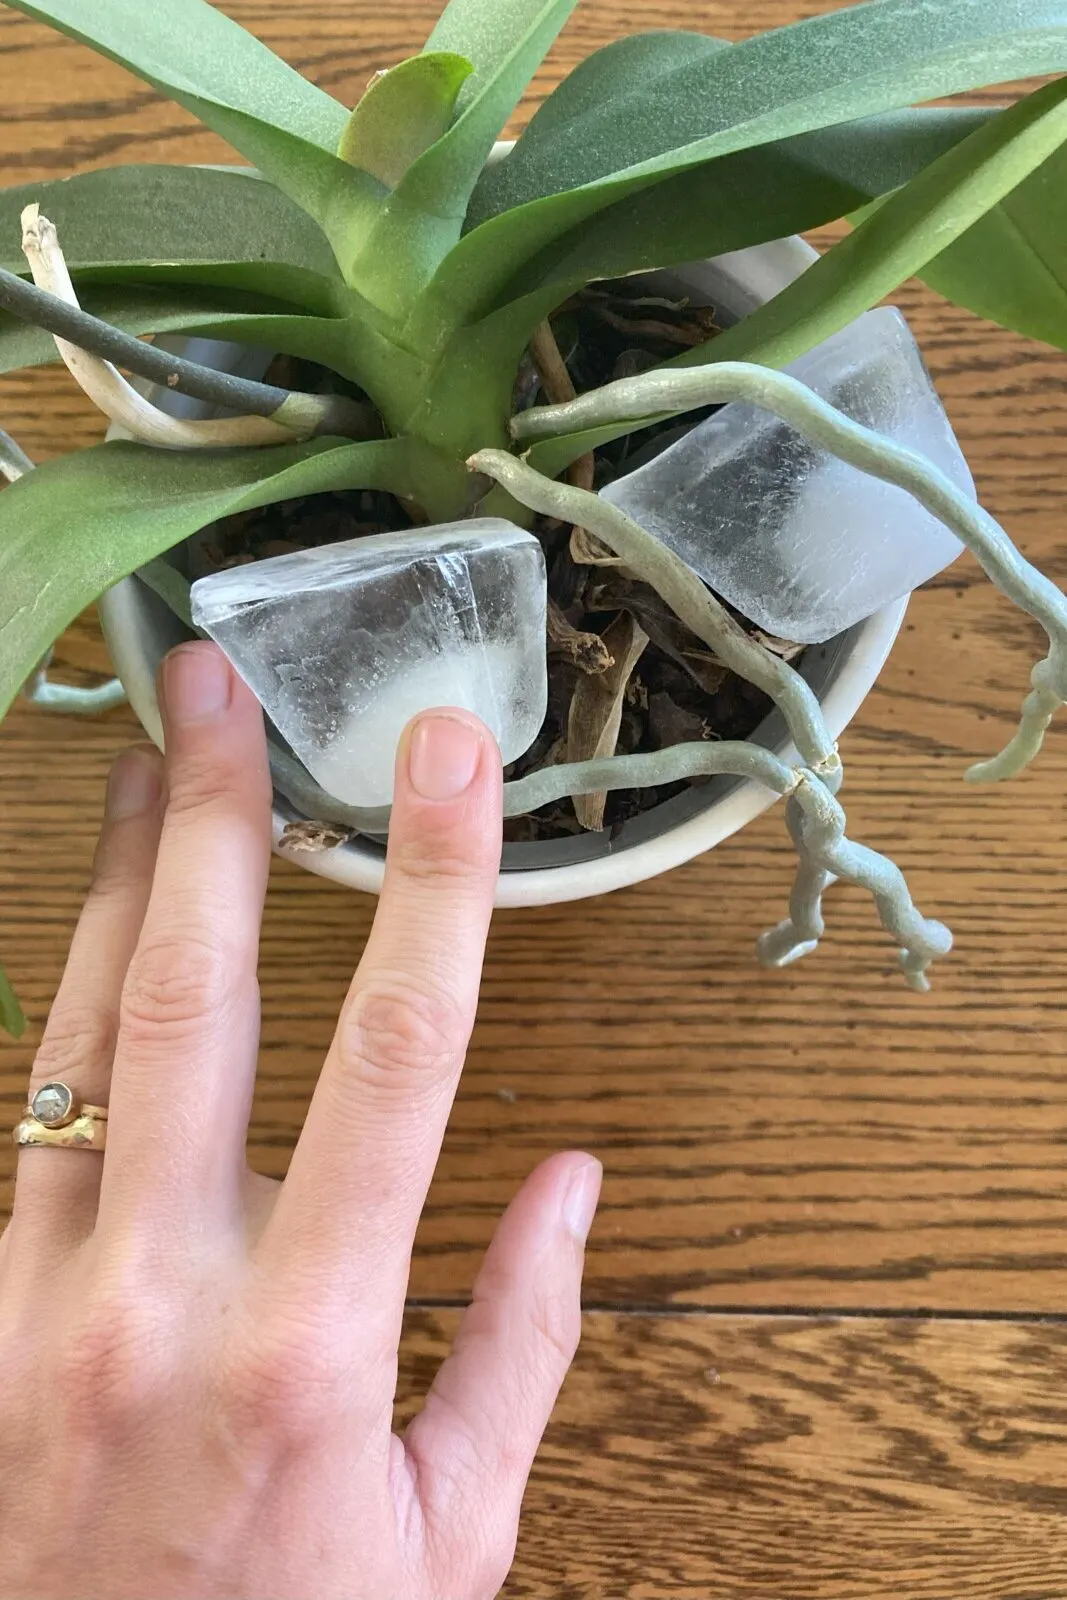
As we shared in our guide to watering orchids with ice cubes, they are a perfectly suitable (if slightly unnecessary) way to keep them hydrated.
Note: watering needs for orchids change depending on the growing medium. Sphagnum moss sponges up water and requires less frequent watering, while regular potting soil or bark will dry out faster.
Use Fertilizer (Sparingly)
A small amount of fertilizer goes far towards coaxing an orchid to rebloom.
Emphasis on small.
Use a fertilizer for boosting blooms or one designed specifically for orchids, and dilute it with water to half or even ¼ strength. Applications twice per month should be plenty.
Stake the Spike
As Phalaenopsis orchid flowers all form on the same stem, they tend to get heavy and benefit from support after they reach about five inches long. Learn from my mistake! I forgot this, and my plant is top-heavy. Consider a bendable stake so you can meld the plant into your preferred shape.
Be Prepared to Wait…Even Years
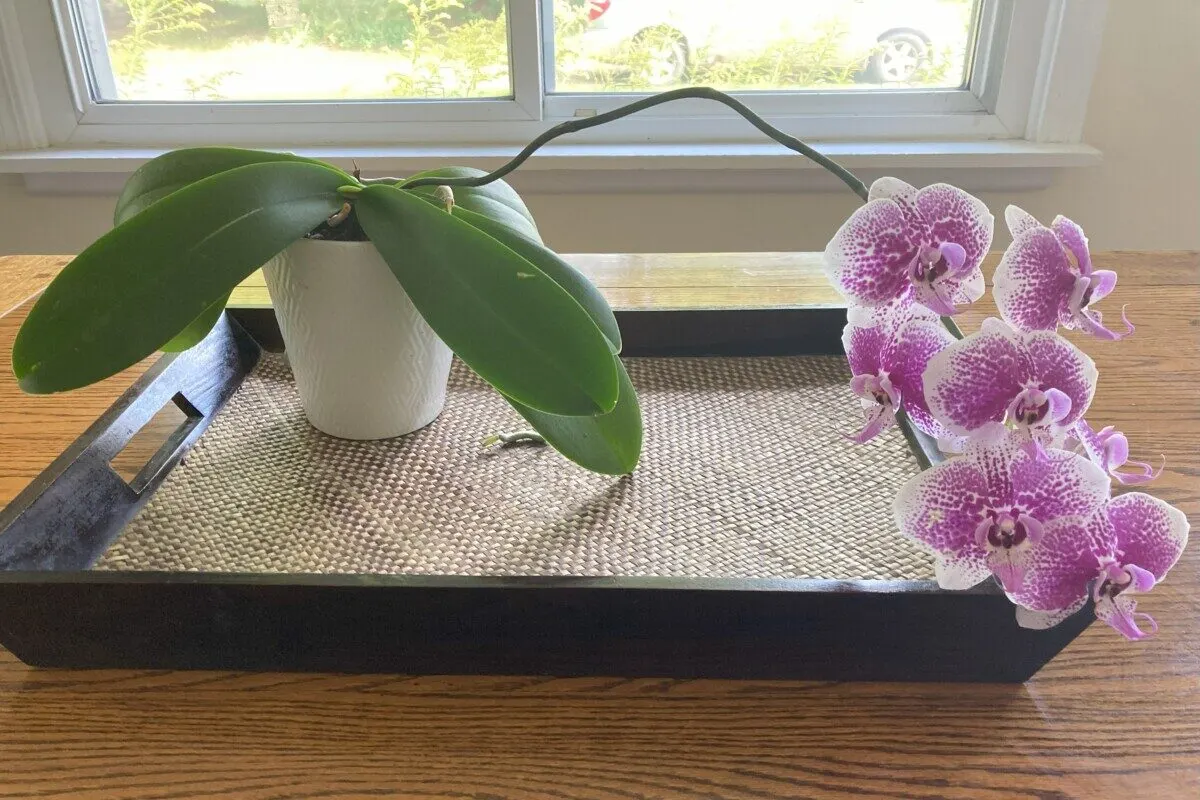
While orchids can bloom one or more times per year, the plants aren’t always cooperative. We received our flowering orchid in late 2021 and didn’t see signs of new blooms until the spring of 2023. For all that time, we had a boring green plant that barely changed from month to month.
But the wait was worth it, and the blooms that eventually emerged are as gorgeous as the first time and show no signs of fading even two months later.
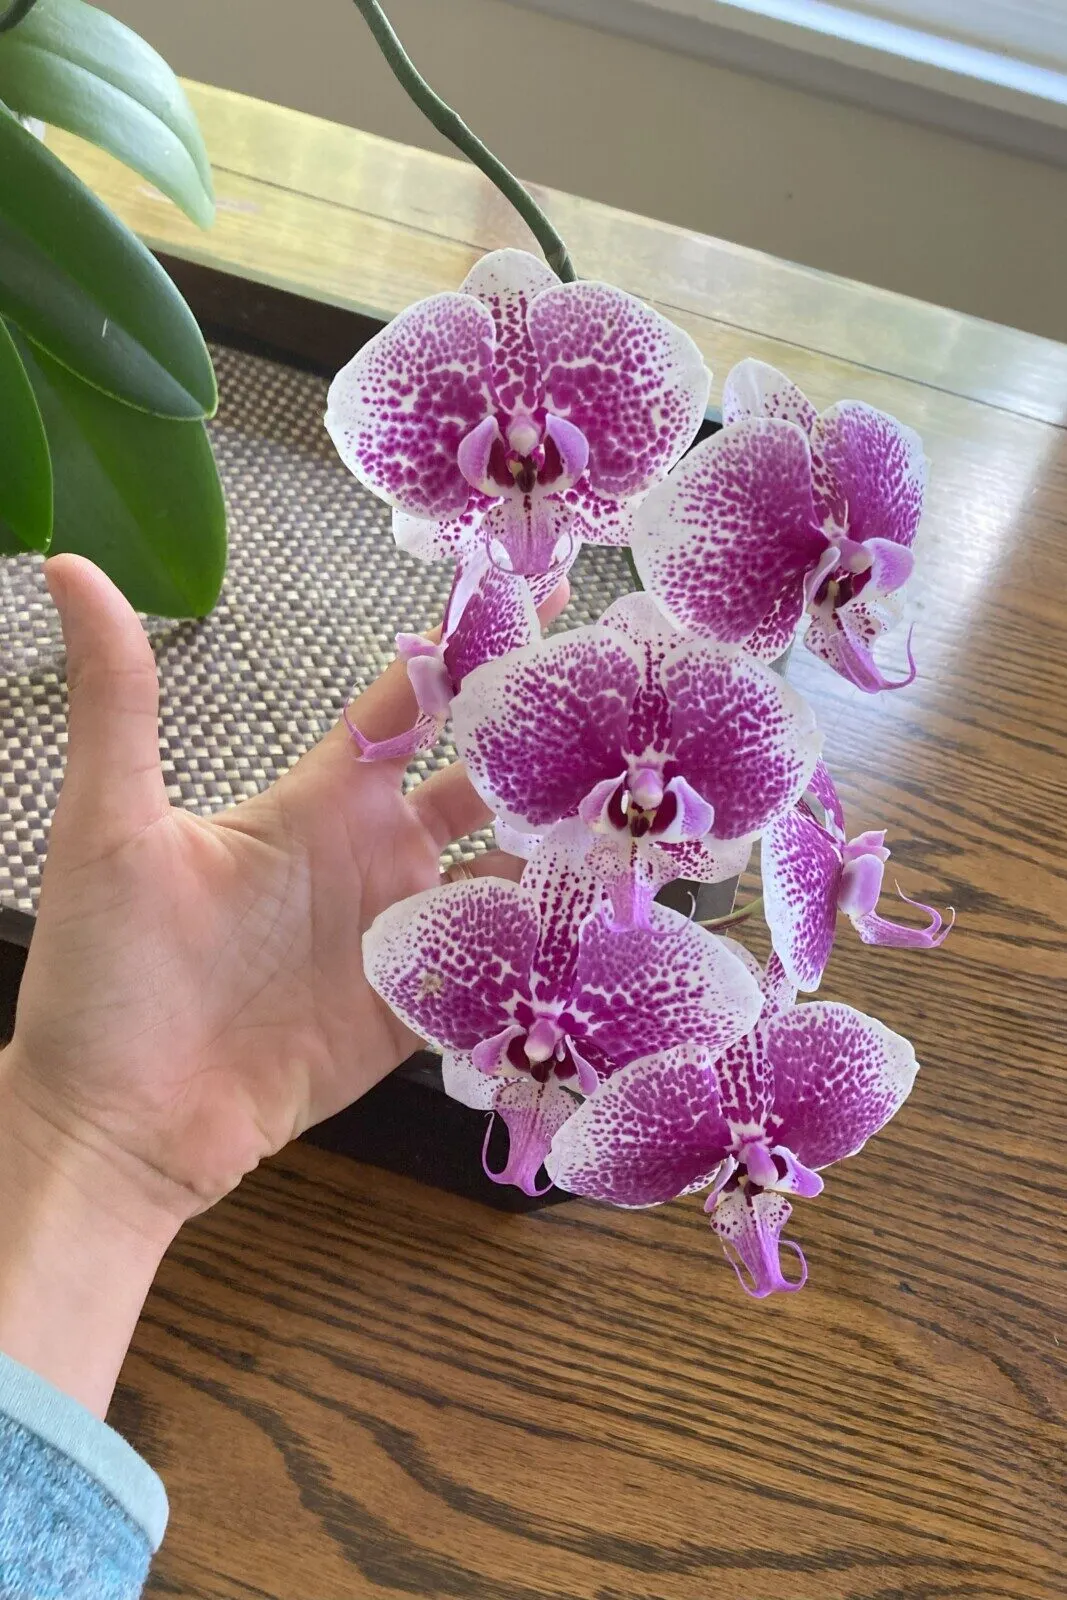
If you’re following these tips and your orchid still isn’t blooming, consider doubling the fertilizer dose and putting the plant in a slightly cooler space. It may just need some encouragement to leave dormancy and enter the development stage of flower production.
