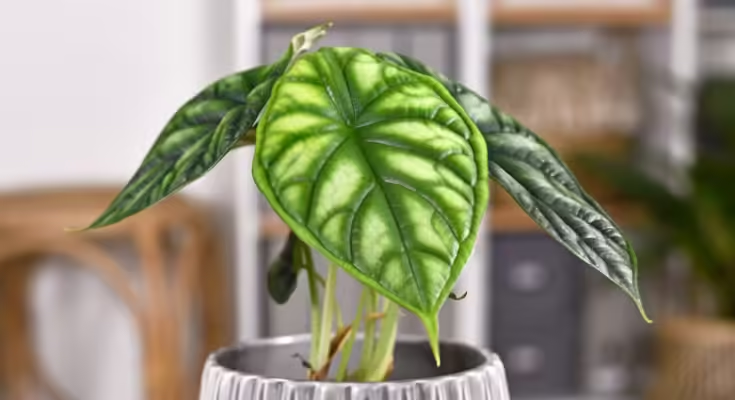
Have you been thinking about adding a tropical touch to your home? You can’t go wrong with the gorgeous Alocasia plants! Any home decor would benefit from the exotic look of these plants.
Alocasias are also known as Elephant ear plants. Anyone who appreciates exotic plants and is willing to take good care of them will enjoy having them in their collection. Taking care of Alocasias may seem challenging at first, but once you get to know them, you’ll be rewarded with gorgeous, lush foliage.
This article will cover the basics of caring for Alocasia plants. After reading this, you’ll know how to keep your Alocasia healthy and happy.
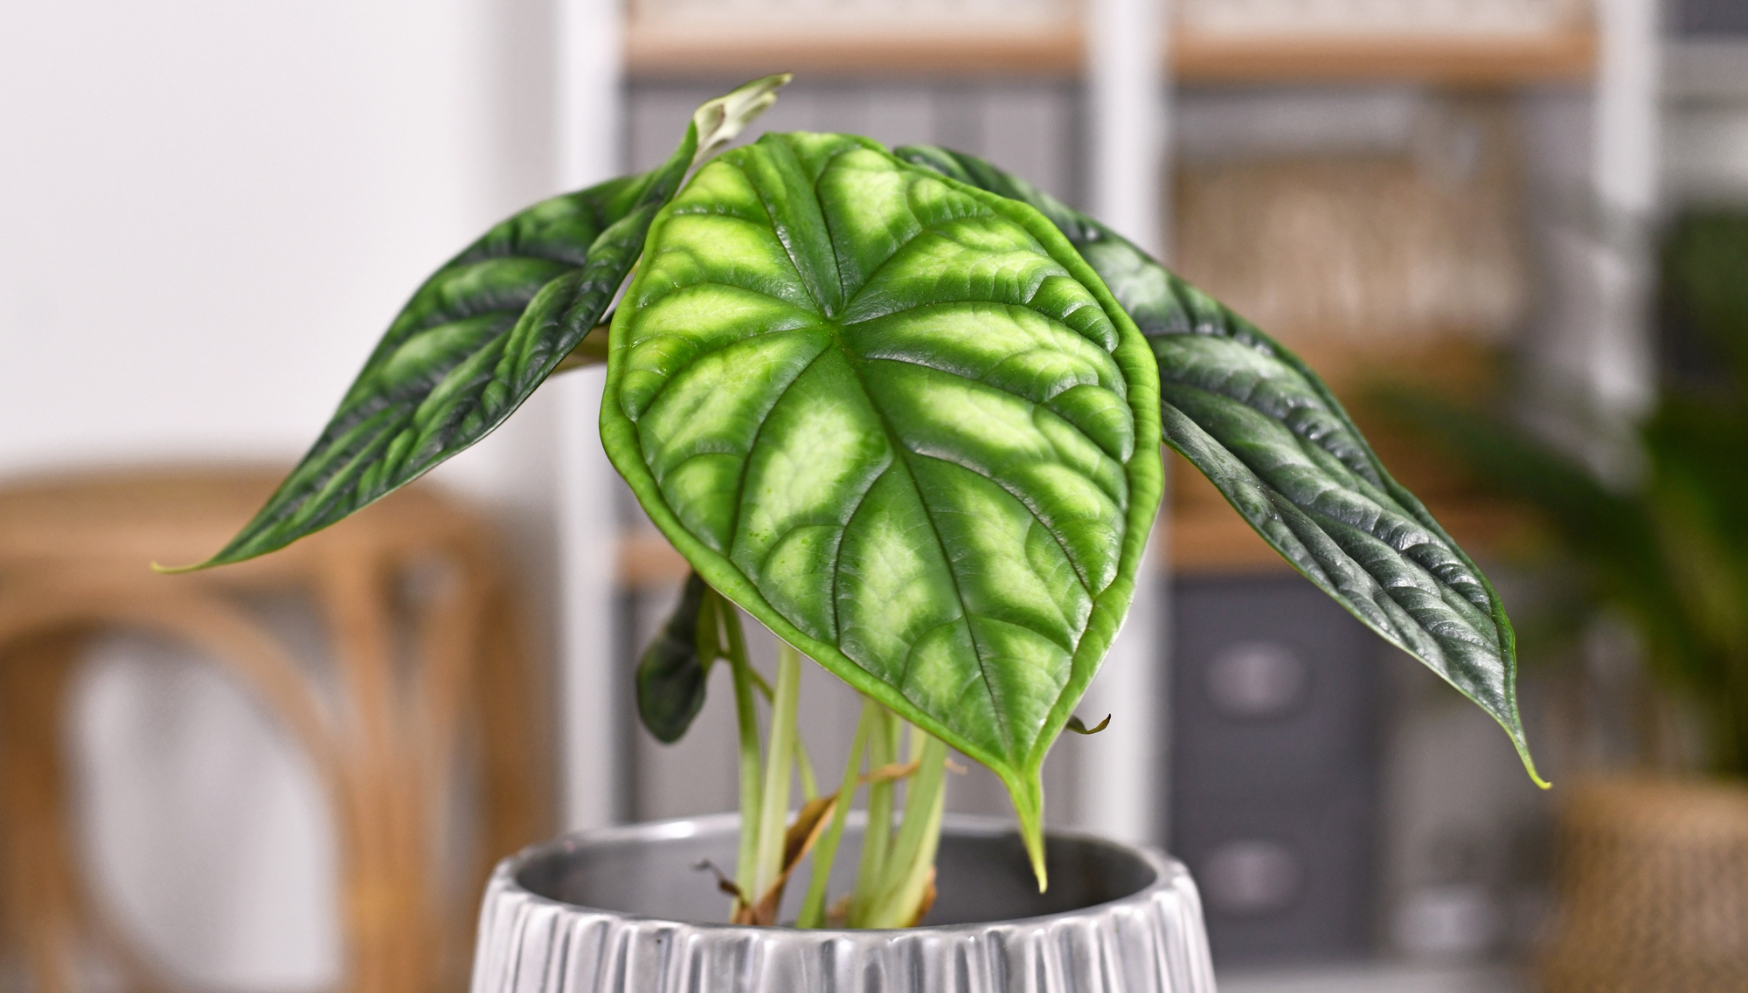
Alocasia care: 10 expert tips for growing it successfully
- Place Alocasia in a location that receives ample indirect light without being exposed directly to the sun.
- Allow the top 2 to 3 centimetres of soil to dry between waterings to ensure the plant isn’t sitting in too much moisture.
- It may take some time and experimentation to find the right watering routine. Although it can be tricky, it isn’t rocket science and just takes some time.
- They benefit from regular misting, especially during the dry winter months. It will help maintain a high humidity level around the plant, keeping the leaves vibrant and healthy.
- Use well-draining potting soil to prevent root rot. Avoid soils that are heavy or dense or retain water for long periods.
- Fertilise your Alocasia plant monthly during the growing season to ensure strong and healthy growth.
- Avoid placing your Alocasia near drafty windows or doors, as sudden changes in temperature can cause stress to the plant.
- Keep the appearance of your plant healthy and attractive by pruning off any yellowing or damaged leaves.
- Look for signs of infestation and treat it as necessary. Aphids and mealybugs are common pests on them.
- Keep it away from pets and children. The leaves of the Alocasia plant are toxic if consumed.
Types of Alocasia
Alocasias belong to the Araceae family and are native to subtropical Asia and eastern Australia. All Alocasias have similar basic traits because of their genetic connection, but the individual Alocasia varieties show differences in colour, leaf size and shape.
Several species of Alocasia grow very compactly, while others grow very large. The leaves of some Alocasias have a classic elephant ear shape, while others have narrow, arrowhead-shaped leaves. There are also many Alocasias with very special leaf shapes – interestingly split, wavy or even shaped like stingrays.
Interesting fact! The large leaves of Alocasia plants are often patterned with veins, which help the plant to channel water and nutrients from the soil to the rest of the plant.
There are many different leaf colours to choose from, including dark green, yellow, purple, and even black. Thanks to this wide range of variation, there is an Alocasia plant for every taste and space.
Alocasia care
Light
Alocasias love bright indirect light and will do well near a window with filtered sunlight. This is due to the plant’s natural habitat, on the forest floor beneath the tree canopy. Direct sunlight will cause the foliage to burn or scorch. So avoid placing your Alocasia plant somewhere with direct sun for a more extended period.
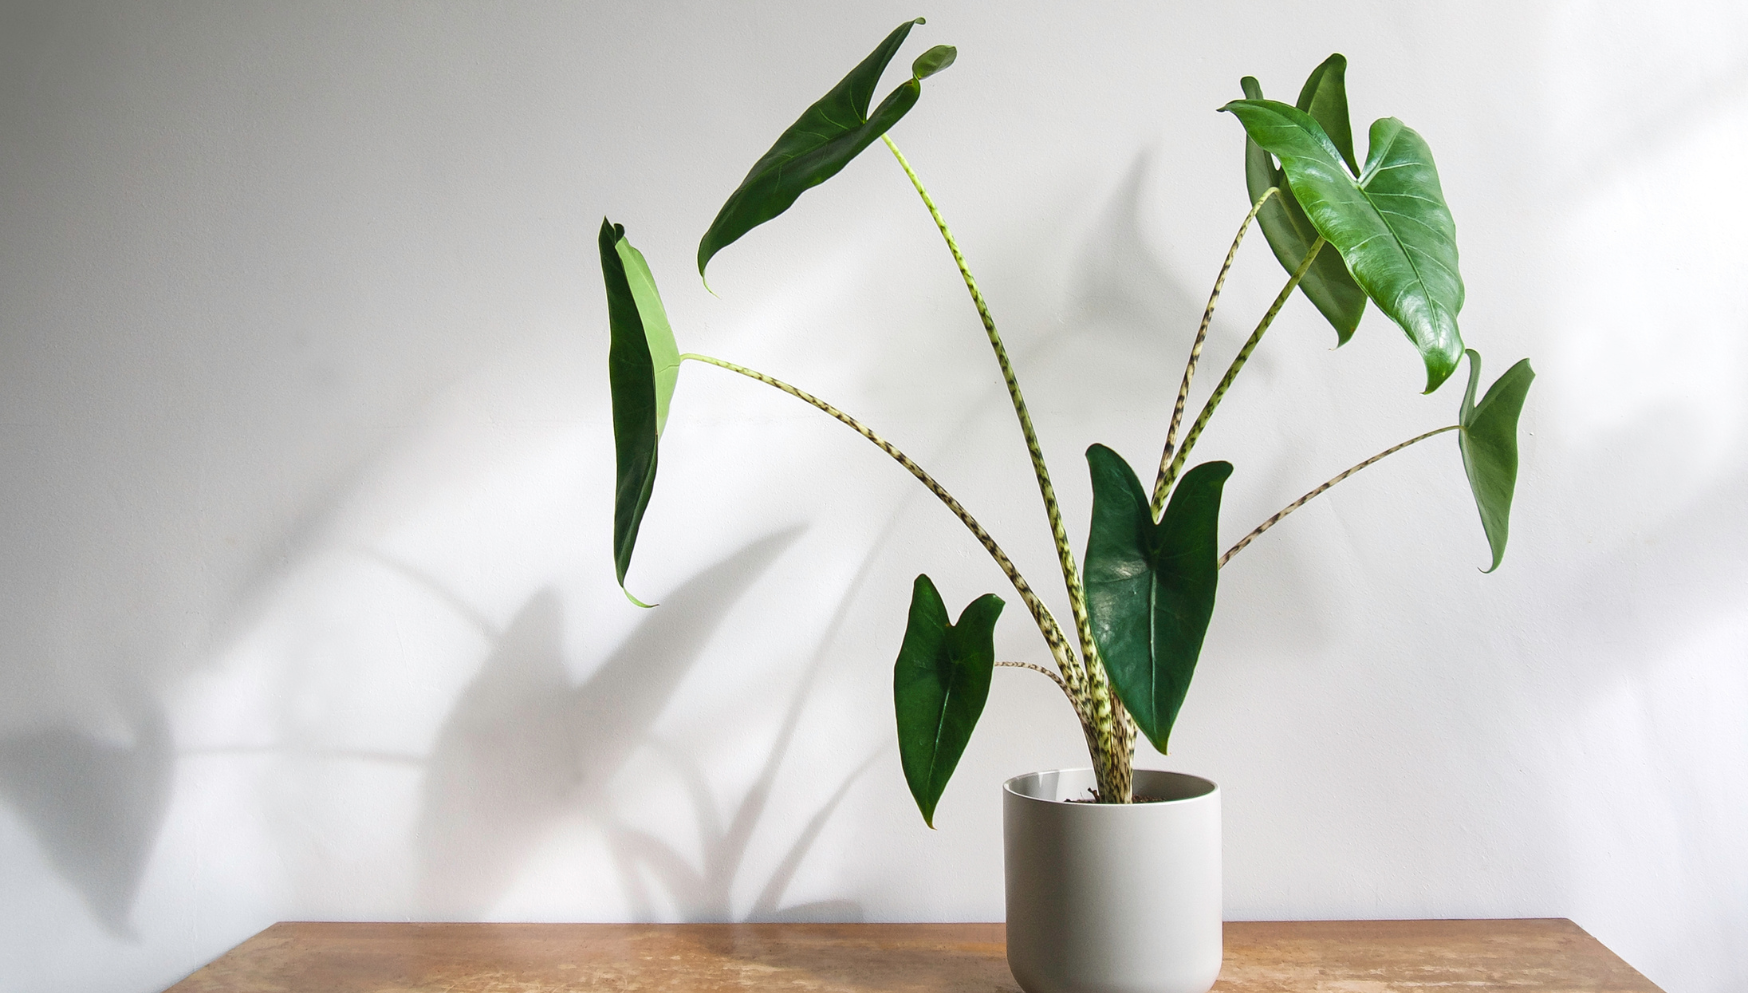
This plant is also not tolerant of lower light conditions. This may cause the plant to grow slowly and become leggy, with thin stems and pale leaves.
Water
Here’s the thing about water and Alocasias: they like their soil a little drier but require high humidity. Counter-intuitive, we know… For your Alocasias optimal comfort, we recommend frequent misting with a misting bottle.
Allow the top 2 to 3 centimetres of the soil to dry between watering to ensure the plant isn’t sitting in too soggy soil. If you are not sure how much to water your Alocasia plant, water it less than more. You can also use a water meter to measure your soil moisture.
Another way to tell if your Alocasia plant needs watering is to look at the leaves. If the leaves are drooping or starting to wilt, this is a sign that the plant is thirsty and needs to be watered. A quick watering will help to restore the leaves to their former glory.
Alocasias will go through a dormancy period in the winter and therefore require less frequent watering. They also can be susceptible to root rot and fungal infections if their soil doesn’t have proper drainage, so we always advise potting these plants in a (nursery) pot with a drainage hole.
Temperature
Alocasias are native to tropical regions and prefer warm temperatures and humid conditions. Indoor Alocasia plants thrive at temperatures between 18 and 29°C. The minimum temperature for Alocasia is 15°C, which can cause stress and health issues.
Alocasias are sensitive to sudden changes in temperature. Keep your plant away from drafty areas, heating or cooling vents that might cause sudden temperature changes.
Is it safe to take it outside in the summer (Europe)?
When the temperatures are warm in the summer, you can bring your Alocasia outside. Just keep in mind to get it inside before nights get chilly and keep it away from direct sunlight.
Humidity
Due to its tropical nature, Alocasia thrives in humid environments. It is best to keep the air humidity level between 60 and 80% for it. Too low air humidity can cause an Alocasia plant’s leaves to dry out and become crispy. As a result, the leaves can eventually turn yellow and fall off.
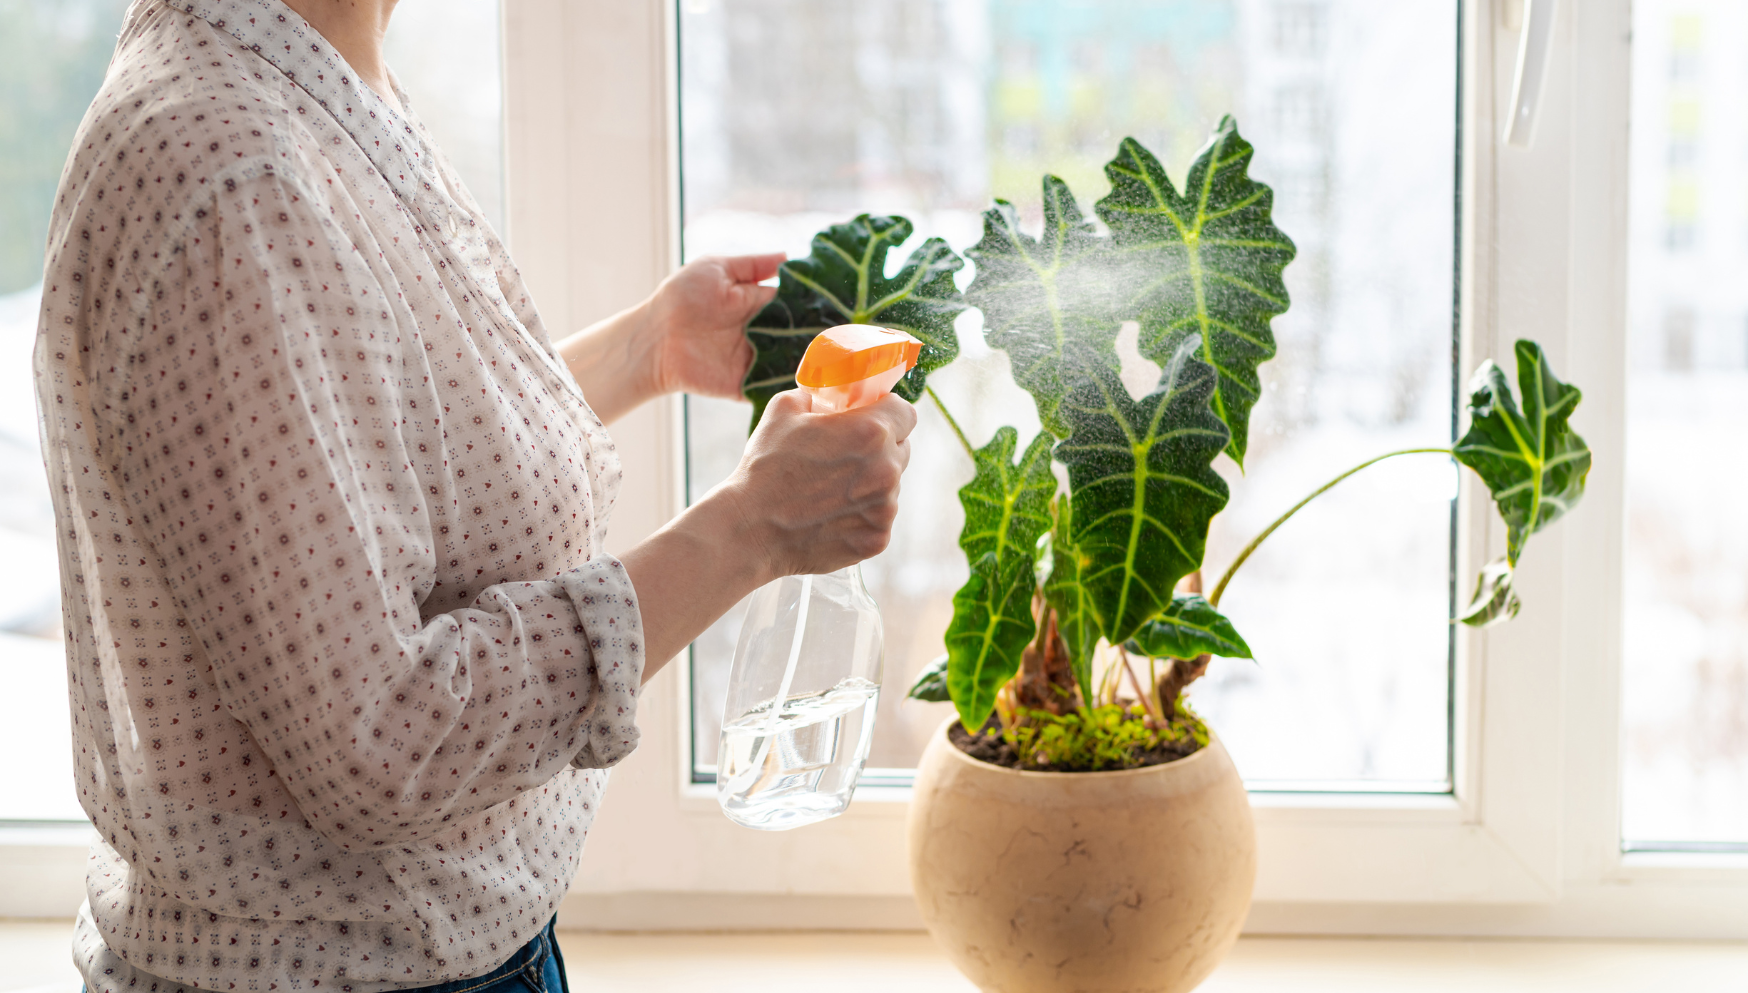
You can measure your air humidity level with a hydrometer if you don’t know your air humidity level. You can adjust the humidity level by misting the leaves regularly, using a pebble tray filled with water, or using an air humidifier.
Repotting
In general, it is a good idea to repot your Alocasia plant every two years or whenever the roots have become overcrowded and are starting to poke out of the drainage holes in the bottom of the pot. However, Alocasia plants are not known for their rapid growth, so they may not need to be repotted as often as other houseplants.
The best time to repot an Alocasia plant is in the spring when it begins to emerge from its dormant period and grows actively again. However, if your Alocasia plant needs to be repotted at a different time of year, it is generally better to do it sooner rather than later.
When repotting, choose a pot that is one size larger than the current pot to provide enough room for the plant’s roots to grow. Make sure the pot has drainage holes to prevent waterlogging.
Potting soil
Alocasias prefer a well-draining, peat moss-based potting soil. This type of soil helps retain moisture while allowing excess water to drain away, preventing root rot and promoting healthy plant growth. PLNTS Potting Soil is ideal for all types of Alocasia plants.
Avoid using a soil mix that is too heavy or dense, as this can lead to waterlogged soil and root rot.
Fertilising
We recommend giving your Alocasia some extra love by giving PLNTS Nutrition plant food every two or three weeks during summer. In winter, it will go through a dormancy period and does not crave any extra plant nutrition.
Several signs indicate that your Alocasia plant needs more plant food. Some common symptoms include slow growth, yellowing or wilting leaves, and a lack of new growth. If your Alocasia plant is not receiving enough nutrients, it may not be able to produce new leaves or grow as quickly as it otherwise would.
Propagating Alocasias
Do you love your Alocasia so much that you want to create more babies? We feel you! When the Alocasia is just coming out of dormancy, so early spring or early summer is the best moment to propagate.
Some species of Alocasia have tuberous roots, which are thick, fleshy roots that grow underground and are used by the plant for storing nutrients. However, other Alocasia species have stolons, which are horizontal stems that grow above the ground and produce new plantlets at the nodes.
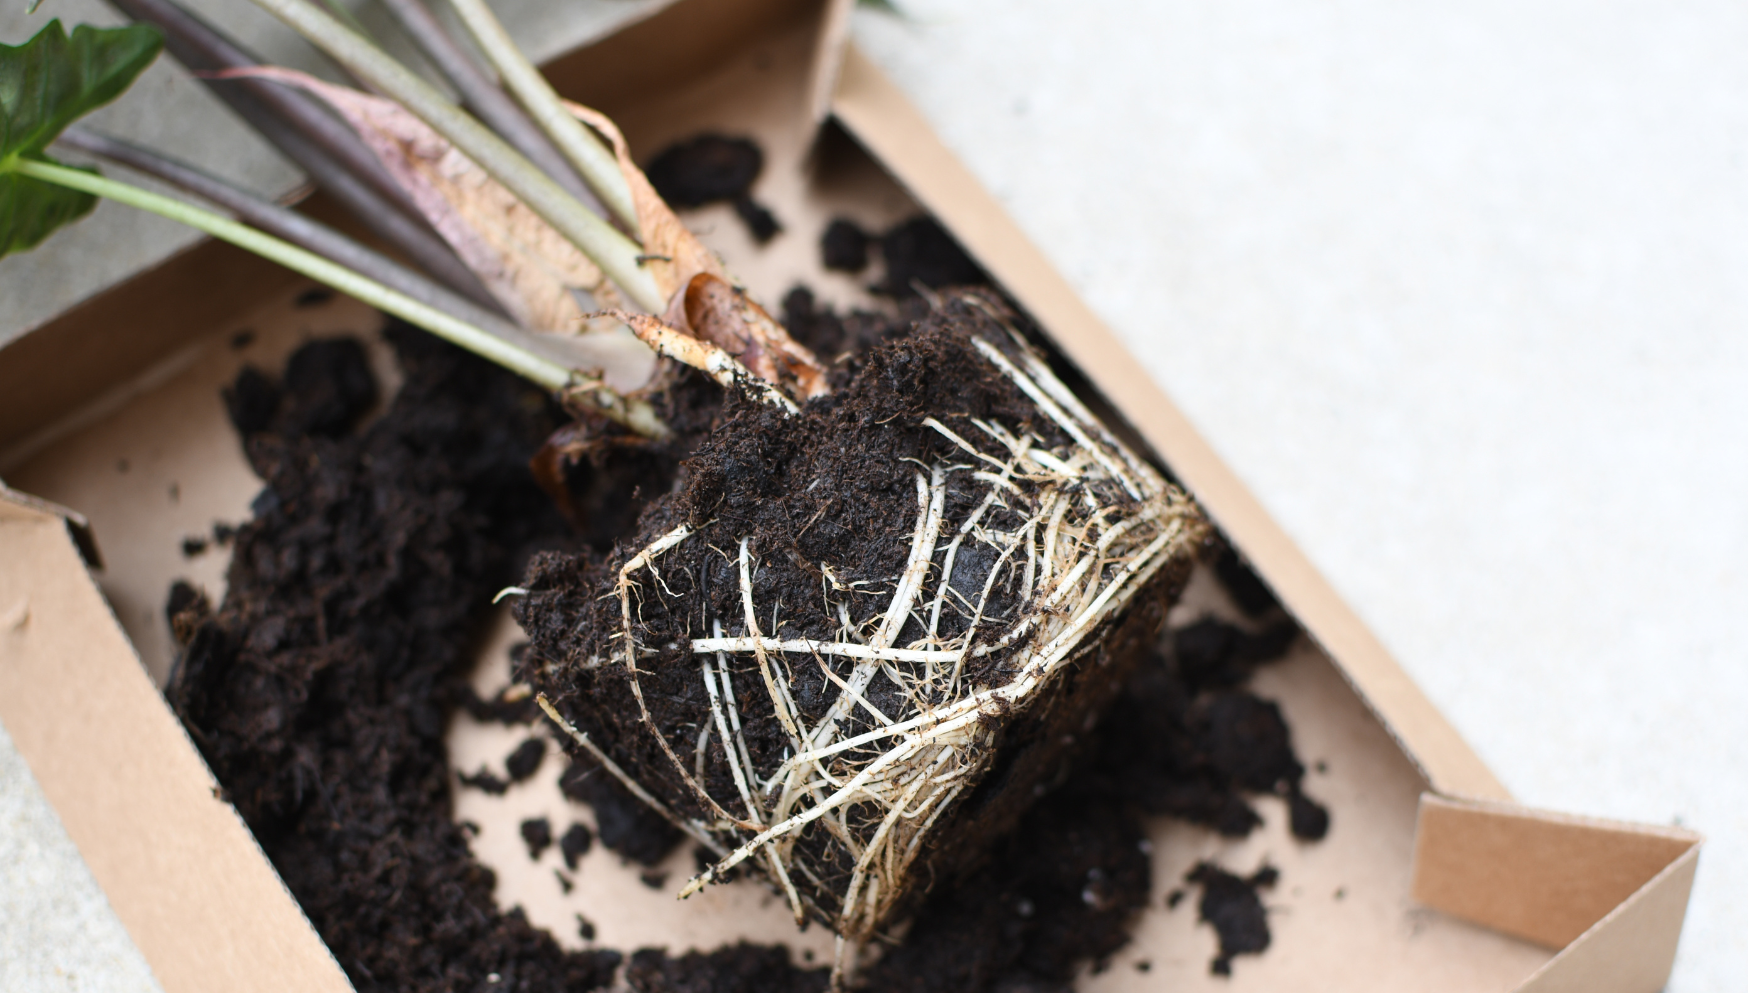
We recommend checking the best propagation way for your type of Alocasia for exact propagation tips. Every Alocasia plant has the best/easiest propagation method.
Most common alocasia propagation methods:
- For Alocasia with rhizomes, such as the elephant ear plant, you can propagate new plants by dividing the rhizome into several pieces, each with at least one growth bud or eye. Plant the pieces in a well-draining potting mix and keep them moist until new growth appears.
- You can propagate new plants for Alocasia with stolons (runners) by carefully cutting the stolen into several pieces, each with a few growth buds or eyes. Plant the pieces in a well-draining potting mix and keep them moist until new growth appears.
- Some Alocasias produce small tubers (see picture). They’re the underground storage organs that store all the nutrients plants need to grow. Propagation is as simple as digging up tubers and planting them in well-draining potting soil. Keep the soil moist and in a bright location, and you should see new shoots within a few weeks. It is important to note that not all alocasia varieties produce tubers, so it is best to check with the specific variety before attempting propagation.
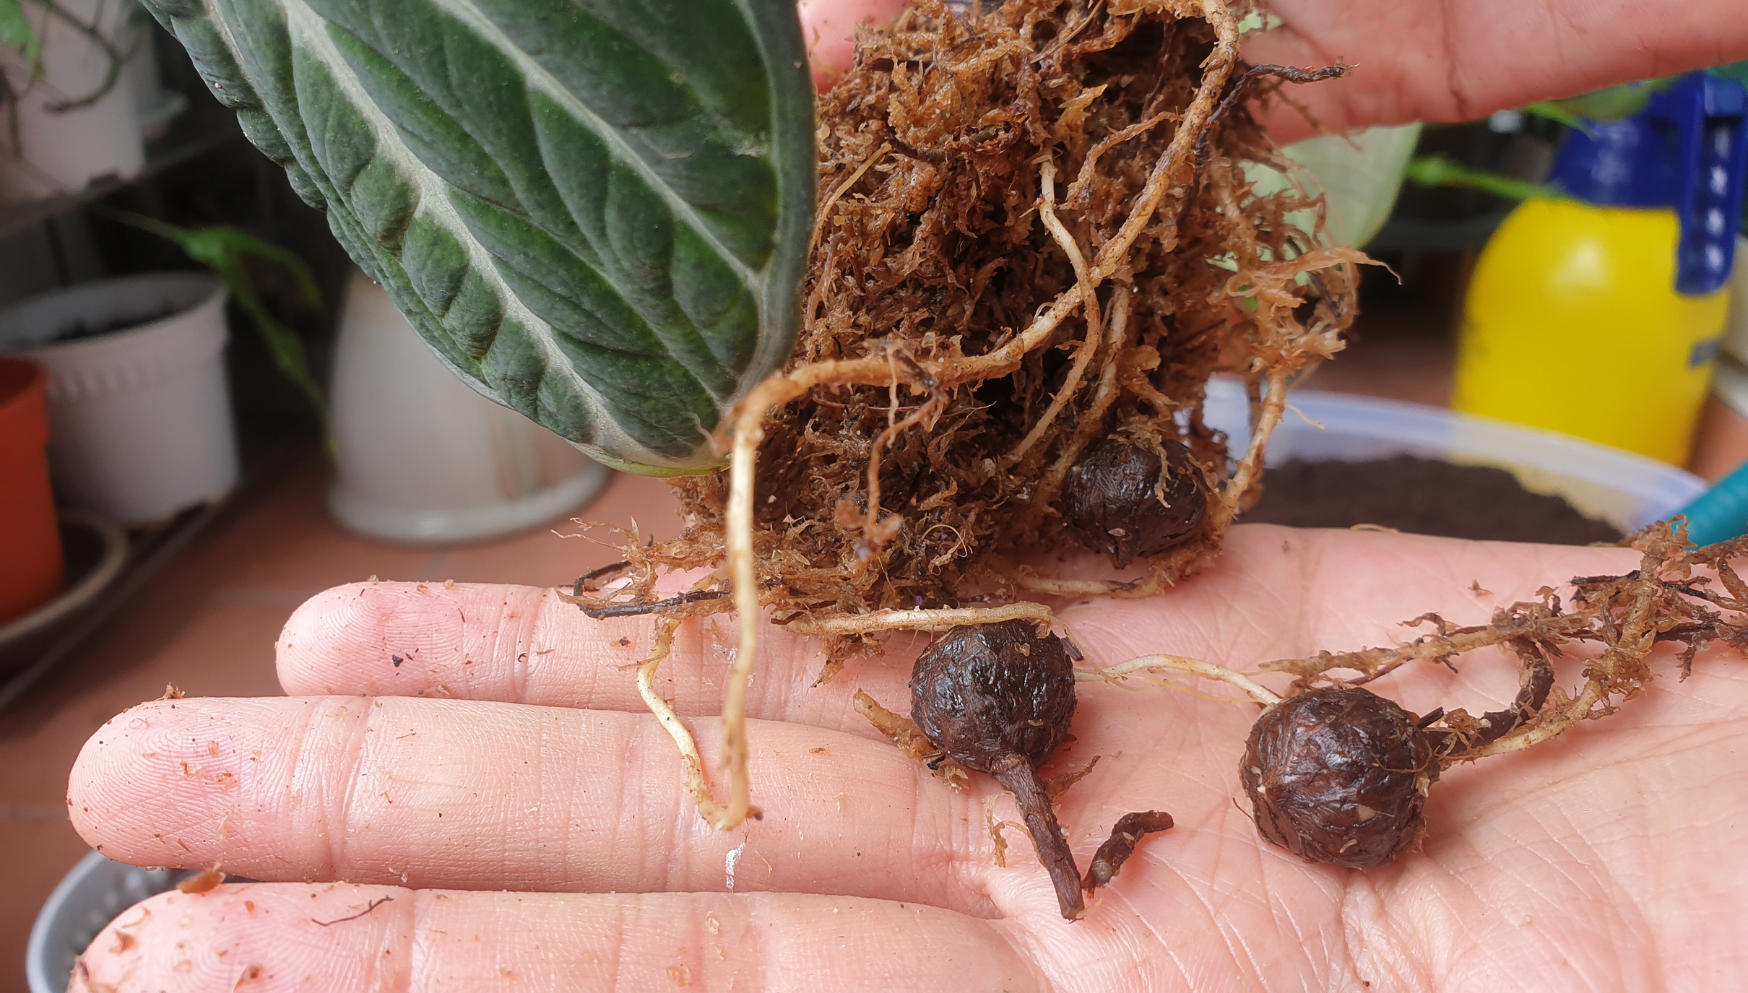
Overall, the key to successful Alocasia propagation is to choose a healthy parent plant, use a well-draining potting mix, place your new plant in bright indirect light and keep the soil evenly moist until new growth appears. Following these steps, you can easily propagate various Alocasia plants and expand your collection of these beautiful and exotic plants.
Most common pests and diseases on Alocasia
Alocasia’s most common pest is spider mites. Humidity can help combat this pest. Placing a pebble tray near your Alocasia is an excellent way to increase the humidity around the plant. Consistency and frequent misting are encouraged too. When misting, try to keep the leaves dry, as sitting water can damage the leaves and weigh the stems down.
Keep an eye out for pests by dusting the leaves every now and then. While dusting, you can take the opportunity to inspect the underside of the leaves. Dusting the leaves will also help the plant to photosynthesise efficiently.
If spider mites or other pests are found, treat the plant immediately to remove the insects and prevent extensive damage.
